Unlock Crispy Smoked Wings: Baking Powder & Grill Smoker Hacks for Perfection
There's something undeniably magical about perfectly cooked smoked chicken wings. The promise of tender, juicy meat infused with rich, smoky flavor is enough to get any BBQ enthusiast's mouth watering. However, the pursuit of truly *crispy* skin on smoked wings often feels like the holy grail of backyard cooking. Too often, the low-and-slow smoking process yields delicious flavor but disappointingly rubbery skin. Fear not, aspiring pitmasters and seasoned grillers! This comprehensive guide will arm you with the ultimate hacks – from a surprising pantry staple to clever grill modifications – ensuring your next batch of smoked chicken wings boasts an irresistible crunch that complements their succulent interior. Get ready to impress everyone with wings that taste like they came straight from a championship smokehouse.The Secret Weapon: Baking Powder for Unrivaled Crispiness
The most common pitfall when smoking chicken, especially wings, is the dreaded flabby skin. The moist, low-temperature environment of a smoker isn't ideal for drying out and crisping up poultry skin. This is where a simple, often overlooked ingredient becomes your best friend: baking powder.Why Baking Powder, Not Baking Soda?
It's crucial to understand that we're talking about baking powder, not baking soda. While both are leavening agents, baking powder contains a mild acid (often cream of tartar) in addition to sodium bicarbonate. When applied to chicken skin, baking powder works its magic in a couple of ways:
- Moisture Absorption: It helps to draw out surface moisture from the skin, which is the first step towards crispiness.
- pH Alteration: The baking powder slightly alters the pH of the chicken skin, breaking down proteins and making it easier for the skin to brown and crisp up during cooking, promoting the desirable Maillard reaction.
Prep for Perfection:
- Dry is Key: Before anything else, pat your chicken wings *super dry* with paper towels. Remove as much surface moisture as possible. This step cannot be overstated – it's fundamental for crispy skin.
- Seasoning Blend: In a large bowl, combine your dry wings with about 1 teaspoon of baking powder per pound of wings, along with your chosen salt (e.g., ¾ teaspoon kosher salt or ½ teaspoon table salt per pound), freshly ground black pepper, and paprika. Smoked paprika can add an extra layer of depth. A drizzle of olive oil can help the seasoning adhere and prevent drying during the initial smoke.
- Even Coating: Toss the wings thoroughly to ensure an even, thin layer of the baking powder and seasoning mixture coats every piece. Avoid clumping.
A Quick Note on Wing Types: For convenience, look for "party-style" wings, which are pre-separated drumettes and flats. If you buy whole wings, you'll need to butcher them yourself by separating the drumette from the flat and discarding the small, bony wing tips (or save them for stock!).
Mastering the Smoke: Low & Slow for Flavor, High Heat for Finish
Achieving truly exceptional smoked chicken wings involves a two-stage cooking process: a low-and-slow smoke to infuse flavor and render fat, followed by a high-heat finish to achieve that irresistible crisp. To really dial in your technique and ensure you Master Crispy & Juicy Smoked Chicken Wings Every Time, understanding temperature control is paramount.Stage 1: The Flavor Infusion (Low & Slow)
- Temperature: Aim for a consistent smoking temperature of 225°F (107°C). This gentle heat allows the smoke to penetrate deeply without overcooking the meat too quickly.
- Duration: Smoke the wings for approximately 1.5 to 2 hours, or until the internal temperature of the wings reaches around 165°F (74°C). While chicken is safe to eat at 165°F, for wings, pushing them slightly higher to 175-180°F (79-82°C) during this stage can help render more fat from under the skin, contributing to better texture later.
- Wood Selection: The type of wood you use significantly impacts the final flavor profile.
- Cherry: Offers a sweet, fruity smoke that adds a beautiful reddish hue without being overpowering.
- Hickory: Provides a robust, savory, and classic barbecue flavor.
- Hickory-Cherry Blend: A fantastic combination that gives you the best of both worlds – savory smoke with delightful fruity undertones and a striking red smoke ring.
Stage 2: The Crisping Finale (High Heat)
Once your wings have absorbed ample smoke and are nearly cooked through, it's time to bring on the crisp! This crucial step is what elevates your wings from good to glorious.
- Temperature Spike: Increase your smoker's temperature (or transfer the wings to a preheated oven or direct grill) to a scorching 375-400°F (190-205°C).
- Duration: Cook for another 10-15 minutes, flipping them once, until the skin is beautifully golden brown, visibly crispy, and the internal temperature reaches a safe 175-180°F (79-82°C) for optimal juiciness and rendered fat. Keep a close eye on them to prevent burning.
Grill Smoker Hacks: Transform Your Setup
Don't have a dedicated pellet smoker or offset smoker? No problem! You can easily turn your existing gas or charcoal grill into a makeshift smoker to produce incredible smoked chicken wings. This ingenuity proves you don't need fancy equipment to enjoy delicious smoked food. These Easy Smoked Chicken Wings: Pro Tips for Perfect Flavor & Texture are accessible to everyone.Gas Grill Smoker Conversion:
- Indirect Heat Setup: Turn on only one or two burners on one side of your grill to low heat. Leave the other burners off. This creates indirect heat.
- Smoke Generation: Place a smoker box or a foil pouch (pierced with a few holes) filled with wood chips (apple, cherry, or hickory work great) directly over the lit burner(s). The chips will begin to smolder and produce smoke.
- Placement: Arrange your seasoned chicken wings on the unlit side of the grill.
- Temperature Control: Close the lid and monitor your grill's temperature, aiming to maintain a consistent 225°F (107°C) by adjusting the lit burner(s) as needed. A reliable standalone grill thermometer is highly recommended for accuracy.
Charcoal Grill Smoker Conversion:
- Two-Zone Fire: Push your lit charcoal briquettes to one side of the grill grate, creating a hot zone and a cool zone.
- Wood Addition: Place a few wood chunks (or soaked wood chips wrapped in foil with holes) directly on top of the hot coals to generate smoke.
- Placement: Position your chicken wings on the opposite side of the grill, over the cool zone (indirect heat).
- Temperature Control: Close the lid and use your bottom and top vents to control the airflow and maintain a steady 225°F (107°C). Adjusting the vents allows you to regulate the heat. More open vents mean more airflow and hotter temperatures; less open vents mean less airflow and cooler temperatures.
Pro Tip for Grill Smoker Hacks: Always use a reliable thermometer to monitor your grill's internal temperature, as the lid thermometer can often be inaccurate. Also, consider pre-soaking wood chips for about 30 minutes to prolong their smoke output, especially on a gas grill.
Beyond the Basics: Seasoning, Sauces & Serving
While the baking powder and two-stage cooking are crucial for texture, the right seasoning and serving choices can elevate your smoked chicken wings from great to unforgettable.Simple Seasoning for Maximum Flavor:
Often, the best approach for smoked wings is a simple seasoning that allows the smoky flavor and chicken to truly shine. A basic blend of:
- Salt: Essential for flavor and moisture retention.
- Black Pepper: Adds a classic bite.
- Paprika: Provides mild flavor, a beautiful color, and an earthy undertone. For an even richer, deeper smoke flavor, opt for smoked paprika.
Remember that a light coating of olive oil on the wings before seasoning can help the spices adhere better and prevent them from drying out too much during the initial smoke.
Sauce or No Sauce? The Choice is Yours!
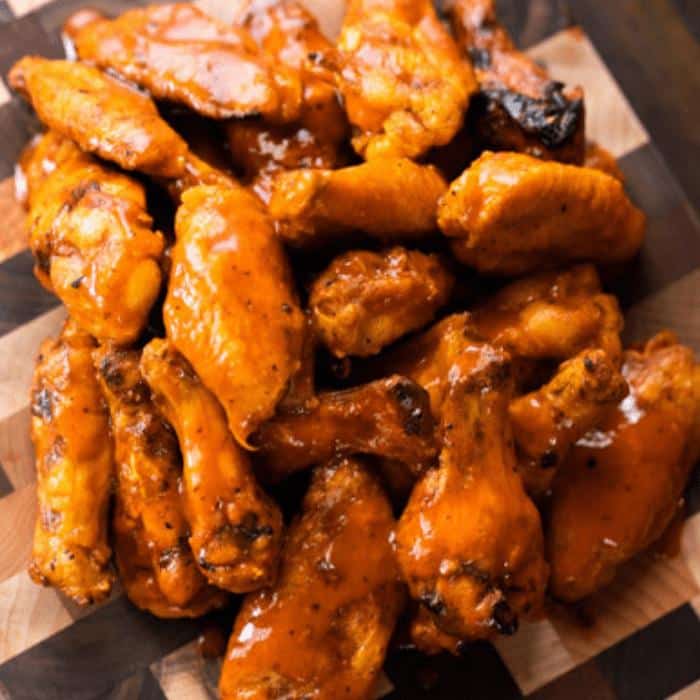
One of the beauties of perfectly crispy smoked chicken wings is their versatility. You can enjoy them plain, allowing the pure smoky, crispy goodness to be the star, or you can toss them in your favorite sauce. Whether it's a tangy BBQ, a fiery buffalo, a sweet teriyaki, or a spicy garlic parmesan, the options are endless. If saucing, wait until just before serving to maintain maximum crispiness.
Serving & Leftovers:
Serve your wings immediately after the high-heat crisping for the best texture. If you happen to have any leftovers (a rare occurrence with these wings!), store them in an airtight container in the refrigerator for up to 4 days. To reheat and maintain some of their crispiness, place them in an oven preheated to 375°F (190°C) for 10-15 minutes, or until warmed through.
